
Heel-toe downshifting is the most over-hyped skill in beginner racing. Not because it doesn't matter. It matters a lot. But new drivers treat it like a secret handshake, and they try to learn it in the middle of a braking zone at 90 mph with an instructor in the passenger seat.
That's backwards. Here's what it actually does, how the footwork works, and when you should bother.
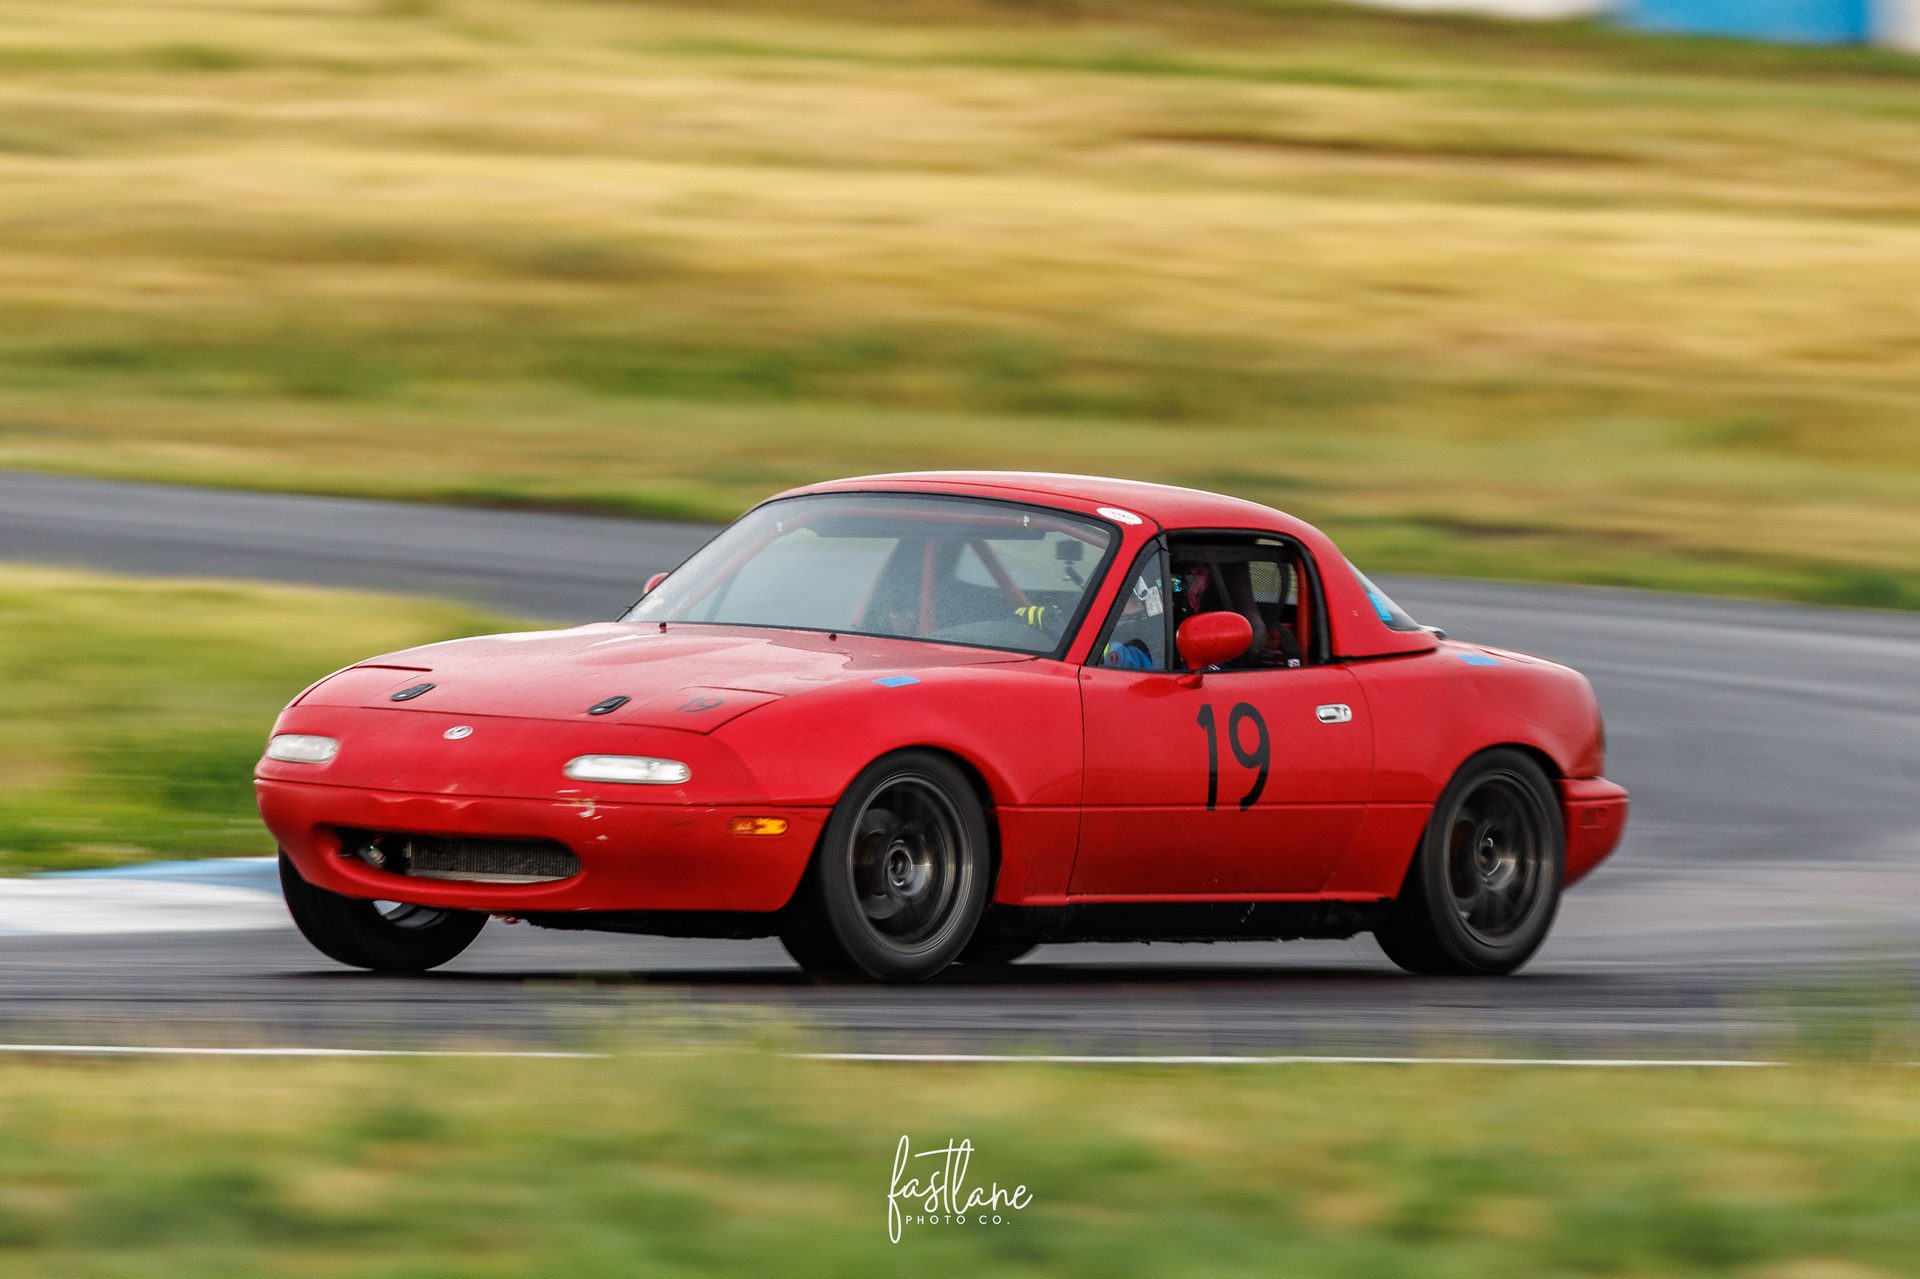 The #19 on corner entry at High Plains Raceway. Everything in this post happens in the second and a half before this frame.
What Heel-Toe Downshifting Actually Fixes
Start with the problem, not the technique.
When you drop from fourth to third, the engine has to spin faster to match the wheels. If you just push the clutch in, grab the gear, and let the clutch out, the wheels do that job for you. They drag the engine up to speed.
You feel that as a lurch. The car pitches. Worst case, your driven wheels lock up for a split second.
On the street that's just sloppy. In a braking zone it's a real problem. You're already asking your tires for everything they have. A driveline shock on top of that is how a car snaps sideways at turn-in.
Heel-toe fixes it by blipping the throttle with the right side of your foot while the left side stays on the brake. The engine revs up to meet the gear. The clutch comes out clean. The car never knows anything happened.
The point isn't the footwork. The point is that you can brake at the limit and change gears at the same time without unsettling the car.
That's the real payoff. You get to choose your brake point and your corner-exit gear independently. Without it, one always compromises the other.
The Foot Sequence, Step by Step
The name is a lie in most modern cars. You rarely use your actual heel. You pivot your right knee toward the steering column and use the ball of your foot on the brake and the outside edge on the throttle.
Blayze calls that knee pivot the single most-missed step, and I agree. Set your foot up before the braking zone, not during it.
Here's the order:
- Brake first. Get to peak brake pressure in a straight line. Both hands on the wheel.
- Clutch in with your left foot. Brake pressure stays exactly where it was.
- Pull the gear down one. One gear. Not two.
- Blip the throttle by rolling the right edge of your foot over. Small hit — Blayze puts it around 10 percent throttle.
- Release the clutch immediately after the blip. Wait too long and the revs fall back before the clutch grabs.
- Bleed the brake off into the corner and go.
Two details separate people who can do this from people who can't.
The first is brake pressure. It must not wobble while you blip. If your braking gets lumpy every time you shift, you're rotating your whole foot instead of pivoting it.
The second is timing. Blayze puts the ideal downshift window right as you start easing off peak brake pressure — not at the very start of the braking zone. Downshift too early and you're blipping to a much higher rev number, which is harder and less forgiving.
And skip the double-clutch. That's a different technique built for non-synchronized gearboxes. Your synchros already do that job inside a sealed case, and it's been largely unnecessary in light vehicles since synchromesh arrived in 1927. Learning both at once is how people quit.
When It's Not Your Problem Yet
I'll say the unpopular thing. If you're in a novice HPDE run group, heel-toe is not your top-five problem.
You're learning the line, the braking points, the flag stations, the mirrors, and how to not get tense. Adding a three-pedal juggling act to that list makes everything else worse. Most instructors will tell you the same thing.
Do this instead for your first few events:
- Pick two gears and stay in them. Most road courses can be driven in two gears in a modern six-speed. Fewer shifts, fewer mistakes.
- Separate the jobs. Brake in a straight line, finish braking, then downshift. It's slower. It's also stable and safe, and you'll be faster overall because your head is free.
- If your car has auto rev-match, leave it on. Nissan shipped the first production system on the 2009 370Z, and now it's on everything from the GR86 to the Corvette to most current BMW and Porsche manuals. Use the tool you paid for.
We coach it in that order with our Kart to Car drivers, same as we build trail braking in layers instead of all at once. Technique sticks when it goes on top of a stable foundation. It falls apart when it's stacked on panic.
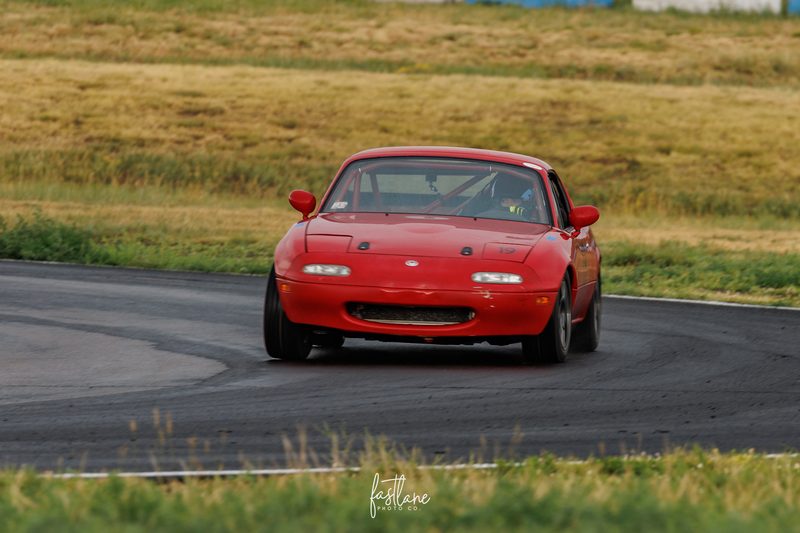 Nose-first on the #19 at High Plains. Corner entry is where sloppy downshifts show up first.
The Pedal Problem Nobody Warns You About
Here's a thing the how-to videos skip: your car may physically fight you.
For heel-toe to work, the brake and gas need to be close together and roughly level once the brake is depressed. Plenty of cars fail that test. The Rocky Mountain Region Porsche Club — our neighbors here in Colorado — tells its own members that many Porsches sit the gas pedal too low, and that a pedal extension or spacer is the fix.
Spec Miata drivers will tell you the same thing, which surprises people. The Miata is a fantastic race car, but on the older NA and NB cars the stock pedals sit far apart and the brake pedal drops past the gas on the way down. Miata forums are full of drivers adding a gas pedal extension or bending the stock pedal slightly toward the brake. Specialists like Flyin' Miata sell extensions for exactly this reason.
If you've tried heel-toe ten times and it feels impossible, check the hardware before you blame yourself. A $40 pedal extension solves more of these than practice does.
Shoes matter too. Wear something thin-soled with a narrow profile. Work boots and chunky sneakers make a hard thing harder.
How to Practice It Without Burning Track Time
Track time is too expensive to spend on muscle memory. Build it somewhere free.
In the driveway, engine off. Sit in the car and run the whole sequence a hundred times. Driver61 recommends this exact drill. You're teaching your foot where the pedals are, not teaching the car anything.
In an empty lot. Rocky Mountain Region PCA's guide suggests starting with simple shifts repeated 10 to 20 times, and budgets about two to three hours of conscious practice before the sequence starts to feel automatic. Then a week of daily reps, then a month of normal driving.
On a downhill road, no brakes at first. Let gravity slow the car. Practice the blip and the clutch release on their own. Add brake pressure only once the rev-match part is boring.
Then on track, in the slow corners, at 75 percent, with nobody behind you. Never in traffic. Never on your fastest lap. One corner at a time, same way you'd build any other skill — same approach we take to the first ten laps at a new track.
So Do You Need It?
Eventually, yes — if you want to race. Once you're braking hard enough that the car is on the edge, you can't afford a clumsy downshift in the middle of it.
But it is a Phase Two skill, not a Phase One skill. Get comfortable. Get consistent. Get your line and your braking points sorted. Then layer this in during the off-season, in a parking lot, for free.
If you want to work on it in a car that's already set up right — proper pedal spacing, a coach in your ear, data after every session — that's what our arrive-and-drive weekends at High Plains Raceway and Pueblo are built for. No trailer, no tools, no guessing.
Do you believe?
Sources: Driver61 — How to Heel and Toe, Blayze — Heel and Toe Downshifting: The Ultimate Guide, Rocky Mountain Region PCA — Heel and Toe Shifting, Race & Track Driving — Heel and Toe Downshifting, Wikipedia — Double-clutching, MX-5 Miata Forum — Pedal mod for easier heel-and-toe, Motor1 — How Auto Rev-Matching Works, Flyin' Miata — Gas Pedal Extension. Technique steps and practice timelines are quoted from those sources as published, cross-checked against my own coaching and racing experience as of September 2026. Throttle-blip percentage and downshift-window advice are Blayze's published figures — your car and gearing will move both.